All organizations who is utilizing workloads within Azure Active Directory should always make sure to have an emergency account within their tenant, so the organization always have a way into the tenant.
One of the most common scenarios when an organization is locking themselves out from a tenant is due to a miss configuration of Conditional Access, this leads to time consuming support cases with Microsoft and a lot of frustration.
During Microsoft Ignite spring 2021, a representative from Microsoft mentioned that they have up to 20 cases each week where administrators have locked themselves out from their tenant.
Creating an emergency account and configure it properly will make your life as an administrator much easier the day someone makes a configuration mistake and locks out everyone from the organizations tenant
Guidelines when creating emergency or “break the glass” accounts
- Create one, or maximum two, accounts
- The naming convention of the accounts should not prevail their functionalities.They should blend in as much as possible due to reducing the attack surface when an attacker have access to the tenant as an end-user chasing for lateral movement and privileged accounts
- Reduce the enabled workload for the accounts as much as possible
- In-Cloud account
- Excluded from ALL Conditional Access policies
- Excluded from PIM (Make sure that the accounts have persistent Global Administrator privileges)
- Use a 256 character password or implement passwordless authentication with an yubikey https://www.yubico.com/
- Store credentials or hardware tokens in an safe way
- Make sure that the authenticationmethod never will expire due to the lack of usage – Emergency accounts is normally NEVER used.
- Limit the amount of personnel that have access to the accounts to a minimum.
- Alert on all sign-in attempts – It is extremely important that we know when someone is trying to sign-in and when someone successfully have signed-in to the account, so we can investigate and make sure that everything is within order.
Setup alerts through MCAS (Microsoft Cloud App Security)
Please be aware that the steps below require you to configure MCAS to receive data from Office 365 and Azure AD.
One of the downsides with monitor and create alerts within MCAS is the delay. You will most likely experience in the best circumstances a delay for a couple of minutes, in other cases it might take hours from when the activity took place until the MCAS have interpreted the activity and alerts you.
Even if you route your sign-ins through MCAS using Conditional Access, there are significant delays. Therefor, I recommend you to create alerts within Azure Monitor if possible. If not, MCAS will still do the job, but the alerts will be delayed in many cases.
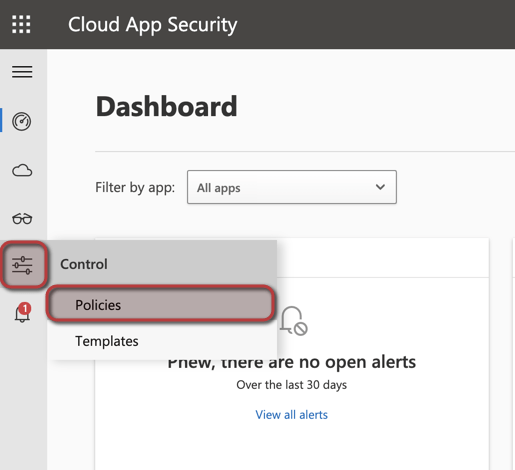
- Sign-in to Microsoft Cloud App Security Portal with your administrator account here
- Go to Control -> Policies
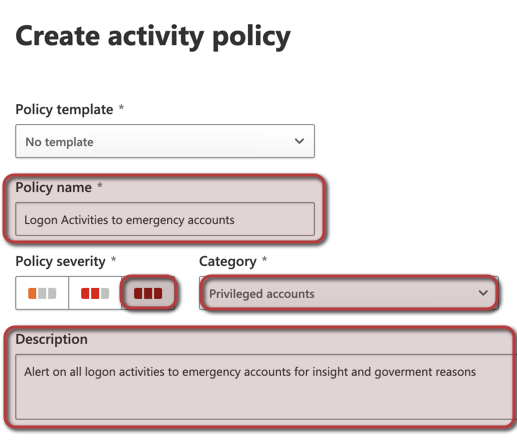
3. Create policy -> Activity policy

4. Name the policy, set the severity, set the category, write a description of the policy
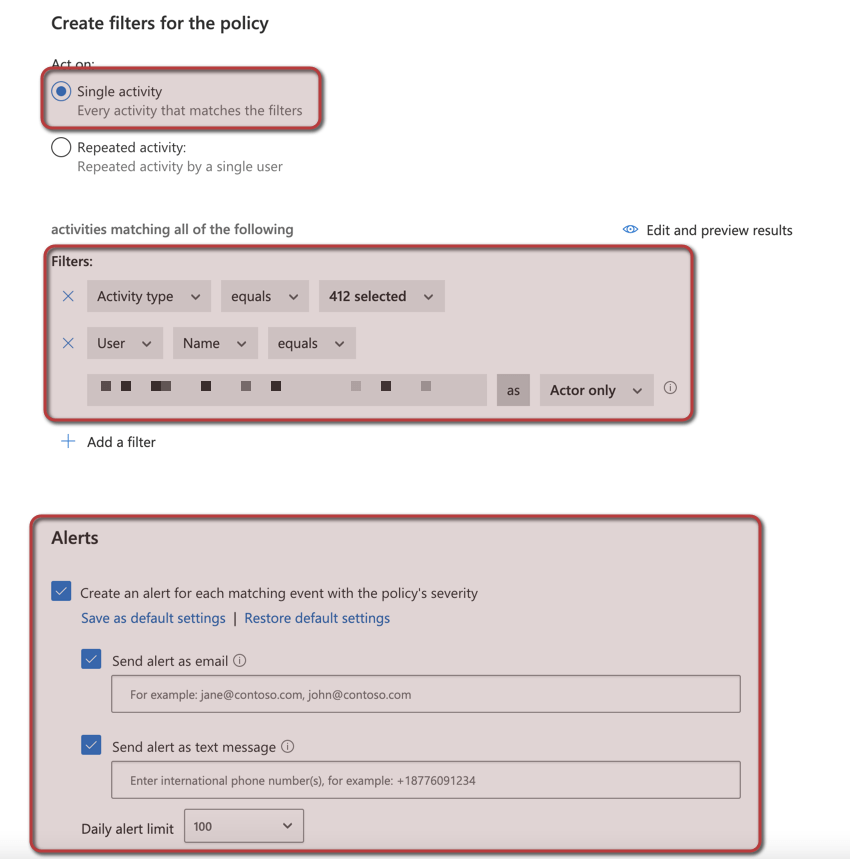
5. Set the policy to act on single activities, configure the filter to include the users with the username X as actor only and configure activity type equals Failed log on and Log on (This will currently monitor 412 different activities related to failed logon and successful log on.
Configure email addresses and phone numbers for alert notifications
Set the daily limit to an appropriate number, in this case we will allow up to 100 alerts / day
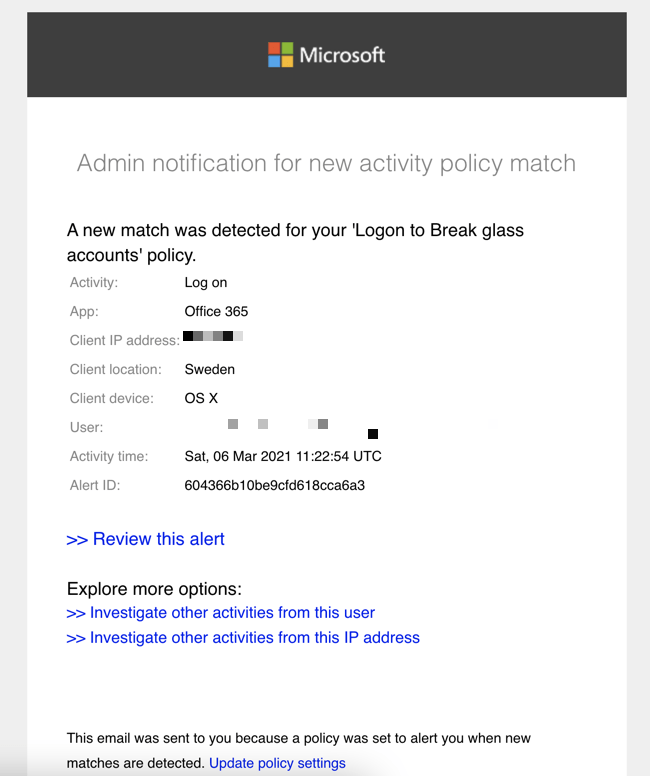
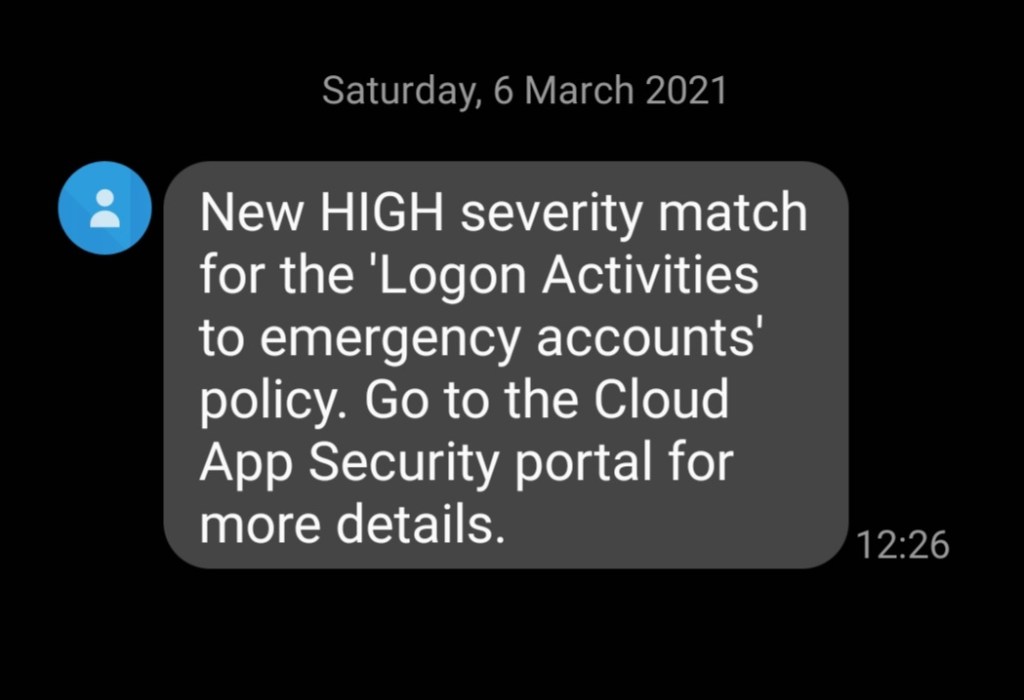
Your MCAS rule should now be up and running in a couple of minutes. Please see below for a couple of examples on how the alert will look like when you receive it
Alert received through email
Alert received through SMS
Setup alerts through Azure Monitoring
To be able to monitor and create alerts through Azure Monitoring, you first need to set this up, if you didn’t already do it, I have a blog post about it here
- Sign-in to the Azure portal
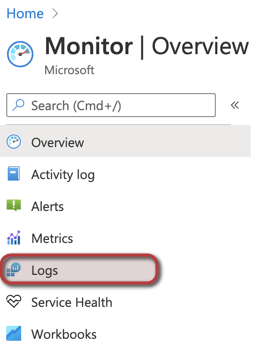
- Open Monitor
- Open Logs
4. Now I usually like to query the data we wanna alert on, just to make sure that we are getting the data we’d like for the alert.
If you wanna alert on sign-in activities for one specific user, you can use the following query
SigninLogs
| where OperationName == "Sign-in activity" and UserPrincipalName == "youremegencyaccount@somedomain.com"
If you will have several emergency accounts, you can use the following query:
SigninLogs
| where OperationName == "Sign-in activity" and UserPrincipalName in~ ('youremegencyaccount@somedomain.com','youremegencyaccount2@somedomain.com')
5. Run your query and make sure that you are receiving the data you wanna alert on
6. Click on Create Alert
7. Configure the alert logic

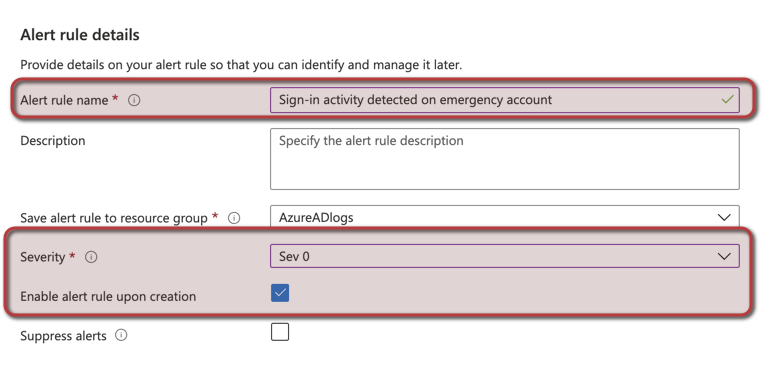
8. Configure an Alert rule name and enable alert rule upon creation
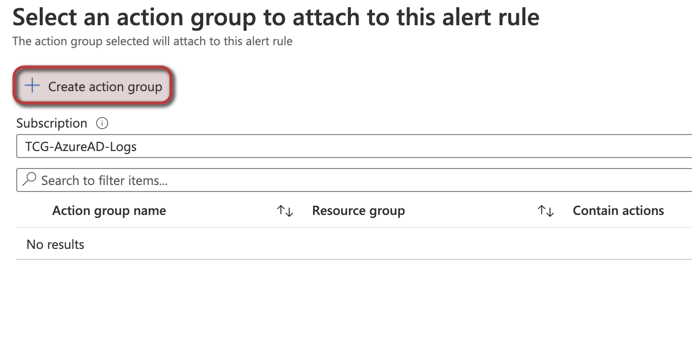
9. Add an action group to the alert

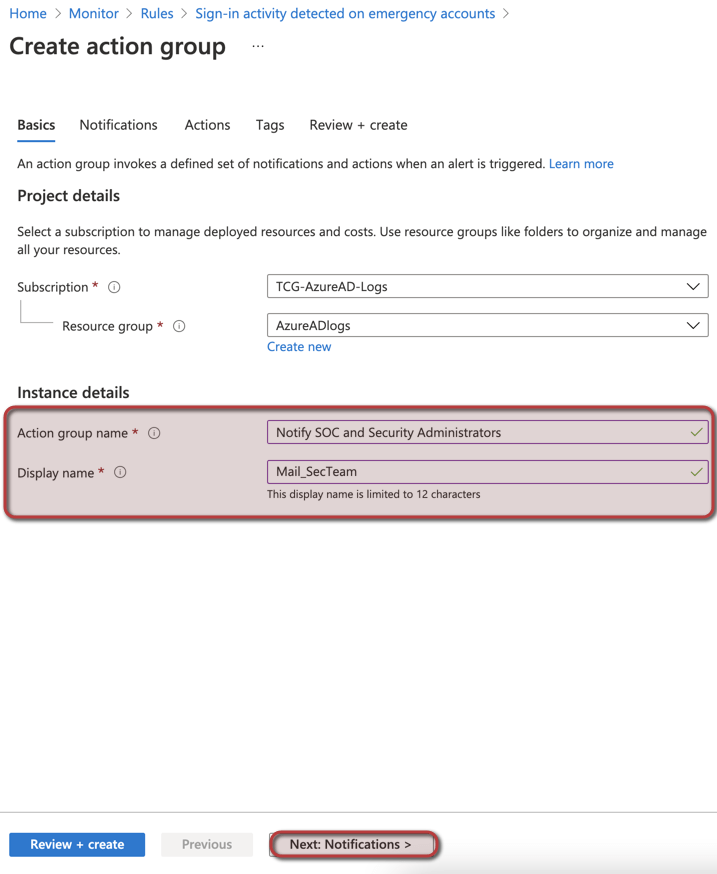
10. Configure the Action Group name and Display Name and then go to notifications
11. Select notification type: Email/SMS message/Push/Voice and name it to Mail Security Team. Configure an dedicated email address or distribution list

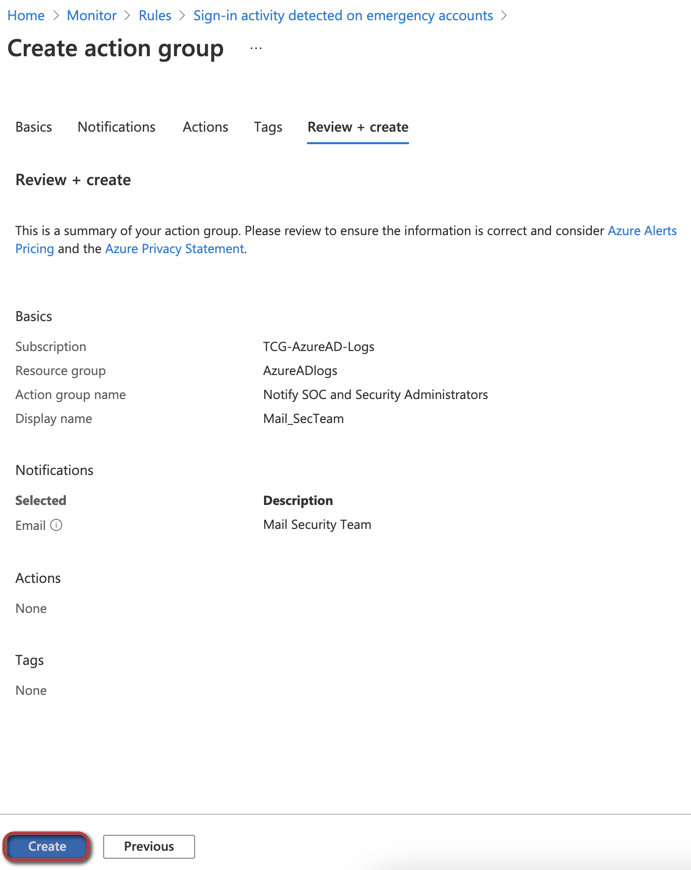
Click on review and create, then review the settings before you click on Create
Click on Create Alert

Your alert rule should now be ready in a couple of minutes!
Please see below for a couple of examples on how the alert will look like when you receive it
Alert received through email

I hope this blog post have helped you, please comment if you have any questions!
